التفاصيل الكاملة لسحب "الغذاء والدواء" السعودية تشغيلات من مستحضر "Priorin N"
![التفاصيل الكاملة لسحب "الغذاء والدواء" السعودية تشغيلات من مستحضر "Priorin N"]()
Reviewed by
دليل الأدوية
on
June 13, 2020
Rating:
5
بعد طرحها في الأسواق.. تعرف على مواصفات وأسعار هواتف Xiaomi Redmi Note 9
![بعد طرحها في الأسواق.. تعرف على مواصفات وأسعار هواتف Xiaomi Redmi Note 9]()
Reviewed by
دليل الأدوية
on
June 13, 2020
Rating:
5
ليفانتي يخطف تعادلًا قاتلًا من فالنسيا في الليجا
![ليفانتي يخطف تعادلًا قاتلًا من فالنسيا في الليجا]()
Reviewed by
دليل الأدوية
on
June 13, 2020
Rating:
5
بعد 24 عام على عرضه..كواليس ومفاجآت جديدة تكشفها ناهد رشدي عن "فرح سنية"
![بعد 24 عام على عرضه..كواليس ومفاجآت جديدة تكشفها ناهد رشدي عن "فرح سنية"]()
Reviewed by
دليل الأدوية
on
June 13, 2020
Rating:
5
شرط وحيد لعودة النشاط الرياضي في مصر ..تعرف عليه
![شرط وحيد لعودة النشاط الرياضي في مصر ..تعرف عليه]()
Reviewed by
دليل الأدوية
on
June 13, 2020
Rating:
5
2 best When You'll Need to Know About axis and planes of the human body ppt
![2 best When You'll Need to Know About axis and planes of the human body ppt]()
Reviewed by
دليل الأدوية
on
May 18, 2020
Rating:
5
How To Use 5 Best Microsoft Powerpoint Dashboard Template To Increase Your Desirable Outcome
![How To Use 5 Best Microsoft Powerpoint Dashboard Template To Increase Your Desirable Outcome]()
Reviewed by
دليل الأدوية
on
May 18, 2020
Rating:
5
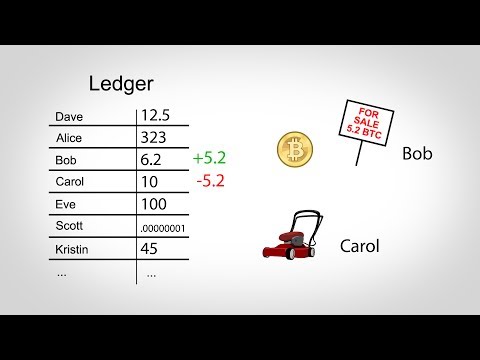
3 Of The Best How Cryptocurrency Works Ppt
![3 Of The Best How Cryptocurrency Works Ppt]()
Reviewed by
دليل الأدوية
on
May 18, 2020
Rating:
5
The Best 6 Introduction To Cryptocurrency Ppt
Reviewed by
دليل الأدوية
on
May 17, 2020
Rating:
5


